photo and words by kristen bach
closed up shop
while driving home from florida we passed small town after small towns seeing hundreds of closed up shops. while driving by this one, i caught a glimpse of the interior color and had to turn around. this beauty of a building was aging with a lovely patina of peeling paint and great colors. a charming artist studio waiting to happen.
photos and words by kristen bach
morels
photograph by rinne allen
nettles & french studio
i recently visited the studio of nettles & french, aka paige french and eve nettles. the two friends partnered last fall- eve is a sculptor and paige a photographer- and they have released a series of prints based on their creative collaborations.
their studio is situated out at the hill in an old shack (you know we love shacks around here, and here, and here). it is a simple, one room space with just the right amount of room for working out ideas.
words and photographs by rinne allen
maple and magnolia
photograph by rinne allen
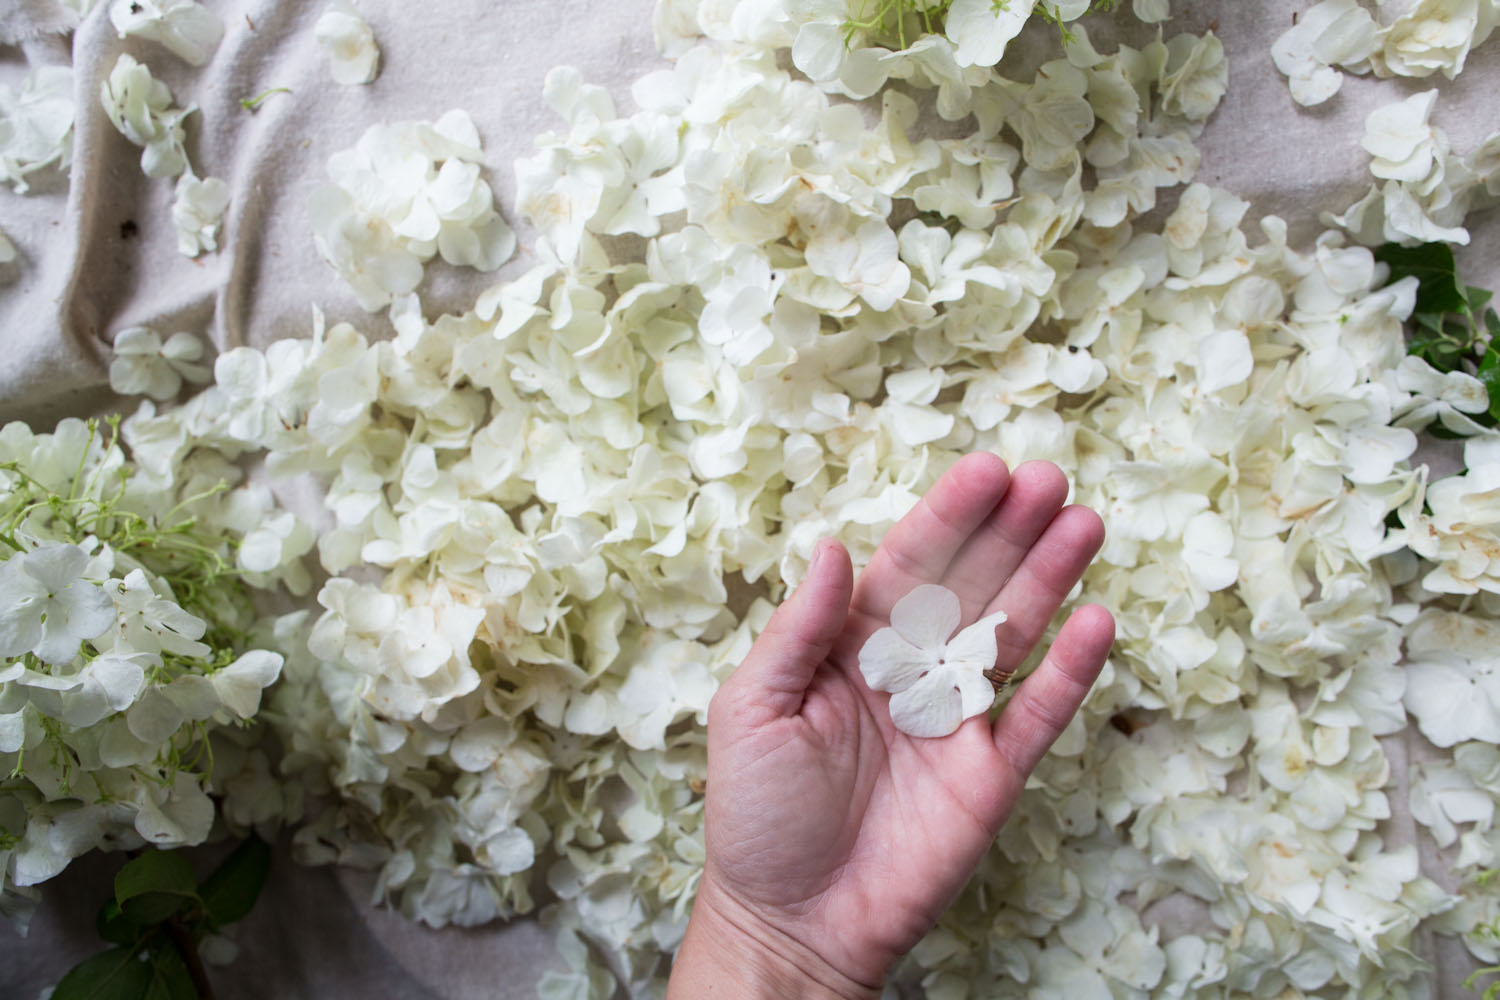
preserving petals
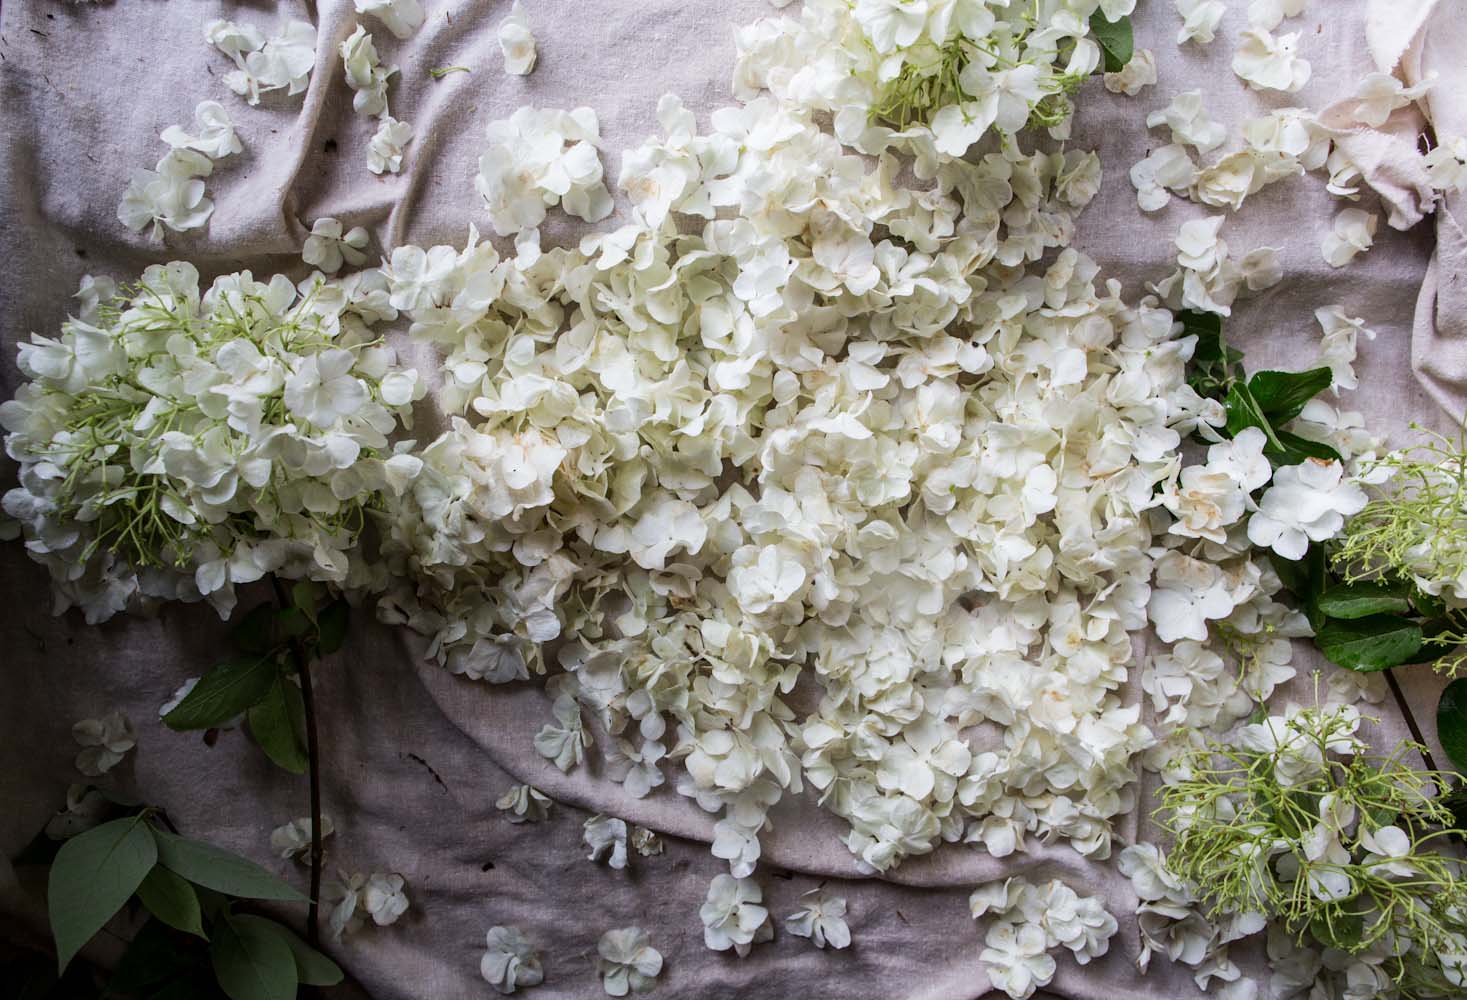
we have been photographing this viburnum and giving away cuttings all spring...it has been so full this year!
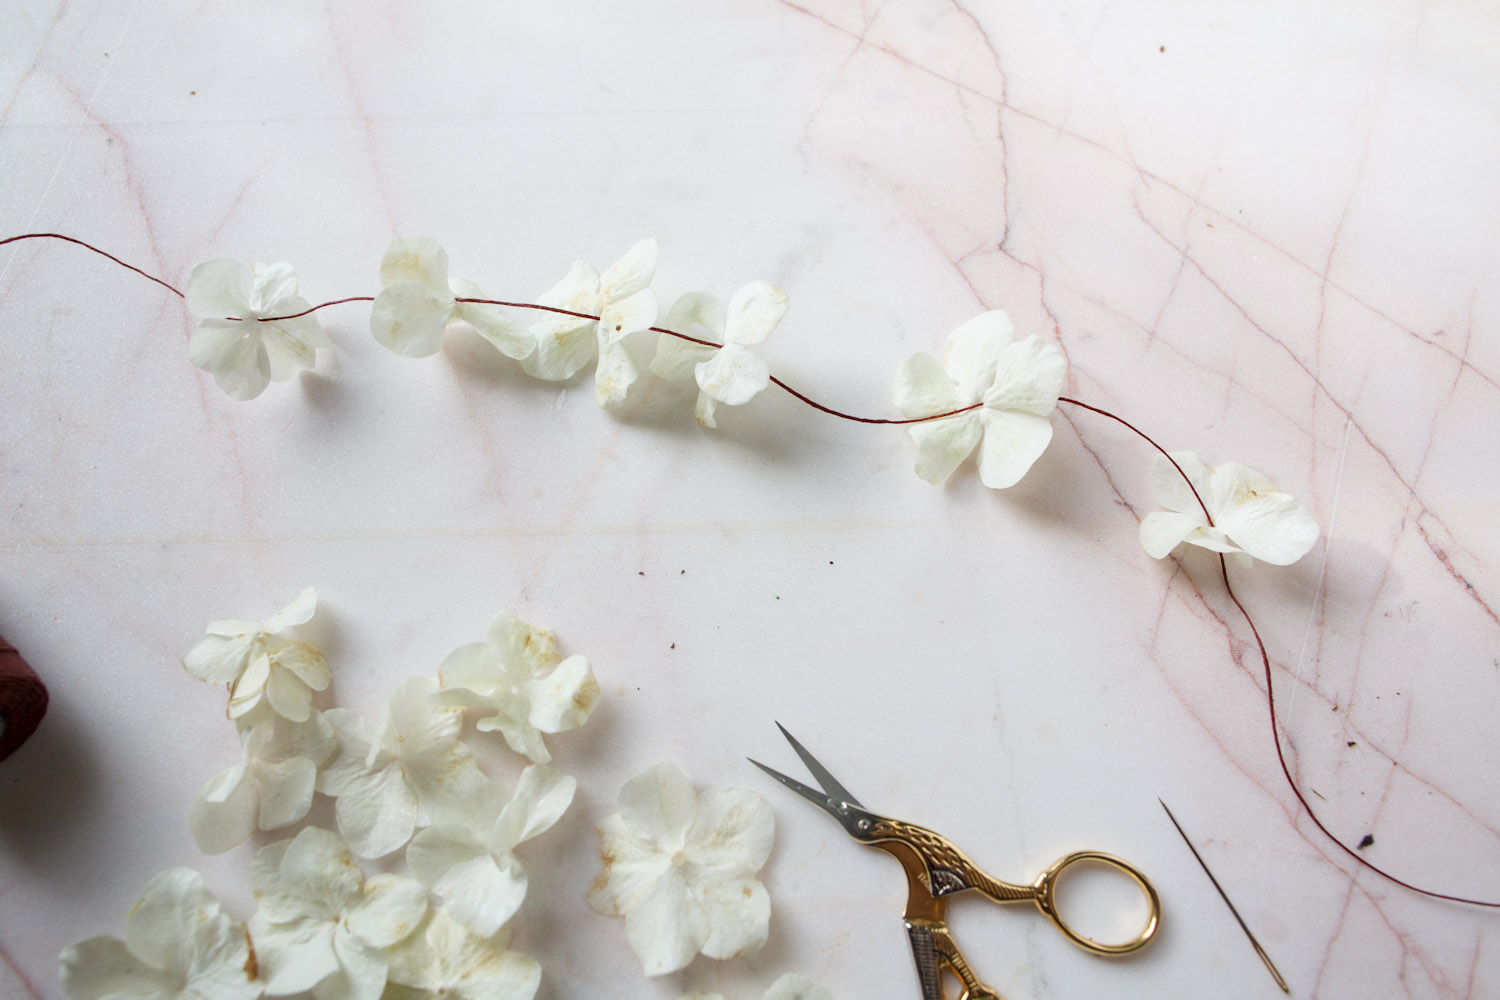
instead of showing an arrangement with it, i thought i would show you something fun you can do to preserve it...
years ago, i strung some hydrangea flowerheads on some string and hung them in my studio to dry. they are still beautiful all these years later. at the time, i threaded a needled with some alpaca yarn that i had from a friend...but, when i was getting this post ready, i had some waxed string on hand and noticed that its diameter almost matched that of the viburnum flower...no need for a needle, since the waxed thread has a good stiffness. just take the flowerhead gently in your hand and poke the waxed thread through the existing hole in the center of the flower...it is that easy!
and, people often confuse viburnmum for hydrangea as they look so similar...you may do this with hydrangea, or really any flower where the petals meet in the center like this...i love stringing whole marigolds like this in summer, as it reminds me of a trip to india long ago.
it is almost meditative sitting and threading these petals. and, once dry, you will be able to enjoy them for years.
project & photographs by rinne allen
woods
photo by kristen bach
amanda's fermentation part 2: yogurt & whey
last week, we featured the recipe for our friend amanda's kombucha...this week she shares her yogurt recipe with us, and a good use for the whey (a side-effect of making yogurt...).
ENJOY!
amanda's crock pot yogurt
makes 1/2 gallon
- 1/2 gallon whole milk (local if you can). homogenized or non-homogenized
- 2 TBSP plain yogurt 'starter' (good quality recommended- make sure it says 'live active cultures'
in ingredients)
- food grade thermometer
- pour the entire 1/2 gallon of milk into your crock pot and turn on high. heat milk until it reaches between 160*-180*. (i aim for 180*) it will begin to froth at this point.
- take the ceramic pot out of the heating container and prop the lid off to allow the milk to cool. take your starter yogurt and let it sit out to come to room temp. cool milk to 110*. left alone on a counter, this will take about 30min-1hr. you may choose to cool the milk in an ice bath to speed things up.
- when the heated milk reaches 110*, ladle 1 cup of milk into a measuring glass. add 2 TBSP of starter yogurt and give it a gentle stir. pour this mixture back into the crock pot and do not stir. place the lid back on the crock pot. 2TBSP is enough to culture your heated milk! the starter needs the room to culture and using too much starter will result in a runnier yogurt.
- this next step will depend on what you have on hand. you want to keep your yogurt at 110 for about 12 hours. the longer the yogurt can sit still at this temp, the better it will culture. my crock pot came with an insulating bag, so i put it in there and then put the whole thing in my oven with the light turned on. *do not turn your oven on!* you may also wrap your crock pot in a towel or two and do the same thing, or you may wrap your pot, and place in an insulated cooler. the goal is to leave the yogurt undisturbed in a warm environment.
- after 12 hours, take your crock pot and tilt it toward you. (the yogurt should come away from the edge of the pot) place the pot in the refrigerator to allow the yogurt to set and firm up a little.
- strain the yogurt: if you like a runnier yogurt, you are finished! if you like a thicker greek style yogurt, place a colander over a big bowl, and use a cloth (flour sack dishcloth is good) to line the colander. pour the yogurt into the colander and allow the whey to drain into the bowl below. use a rubber spatula to gently scrape the sides of the cloth to allow the whey to strain through. pour the reserved whey into a measuring cup (use this for many things!) and scrape the yogurt from the colander/cloth into the bowl. use a whisk to achieve a creamy consistency.
- reserve some starter! before adding flavor, save a few tablespoons of your yogurt to make more!
- at this point, you may add fresh vanilla bean for flavor or just leave it plain. ladle into a glass jar and store in refrigerator. yogurt lasts a LONG time and will just get tangier.
and,
a helpful side note from amanda:
to help understand how to time everything, here is how i do it:
5-7pm: heat milk / cool down / add starter
7pm: when milk is at proper temp and starter has been added, place in oven with light on for the night
7am: take yogurt out of oven and place in refrigerator
3pm (when i come home for the day): strain / flavor / bottle
* you'll end up with about 2 cups of whey after straining...
ways to use whey:
delicious indian street drink:
- pour your whey into a glass bottle, add some honey, a pinch of cardamom, and the juice from one lime. shake well and enjoy!
- or, you may use it to make lacto fermented ketchup
words and photographs by rinne allen, recipe by amanda kapousouz
textile installation
photo by kristen bach
Bulldog Inn Art Annual
athens is full of artists, musicians, and creative types of all sorts, that's what makes our city so magical. for the past 6 years; michael oliveri from MOS has been organizing a show at the bulldog inn called the bulldog inn annual biannual.
the bulldog inn is a mid century motel located on the outskirts of athens. you can rent it by the night, week, and even hour. the bulldog inn art show rents out the motel for one evening and fills each room with a different artist, collective, installation. performer, projection, or whatever. the show in it's entirety is completely insane. i think that much of the beauty of it is that the only rule is that you return your room to it's original condition.
it has become an event that brings artists of all kinds together and really shows how colorful our city is. while photographs cannot even begin to do justice, here are some that captured a bit of this year's event. until next year.....bulldog inn.
glass chards + bullets
photo by Kristen Bach
old depot in Talbotton
when we have the option to take the backroads we always do. the backroads give my eyes a chance to wander and explore and find gems like this. we were heading through the middle of georgia (talbotton) and pulled over to admire this beauty. i bet it's lovely in the summertime when the vines are covered in green!
photos and words by Kristen Bach
tiny green
photograph by rinne allen
amanda and bain's family home
our friends amanda and bain live in a sweet little mill house in the boulevard neighborhood of athens with their two children, ages 5 & 7. they moved in 8 years ago after renovating the house themselves. they did such a good job of opening up the house by removing a few walls and raising the door heights throughout to make it feel open and airy. it is a sunny, well-loved home, full of color from art made by friends and their kids. thank you for letting us into your home, amanda & bain!
words and photographs by rinne allen
studio floor
photograph by rinne allen
azalea beauty
it is azalea time around here. we have many different kinds in our garden...and they all are beautiful, and smell great too...
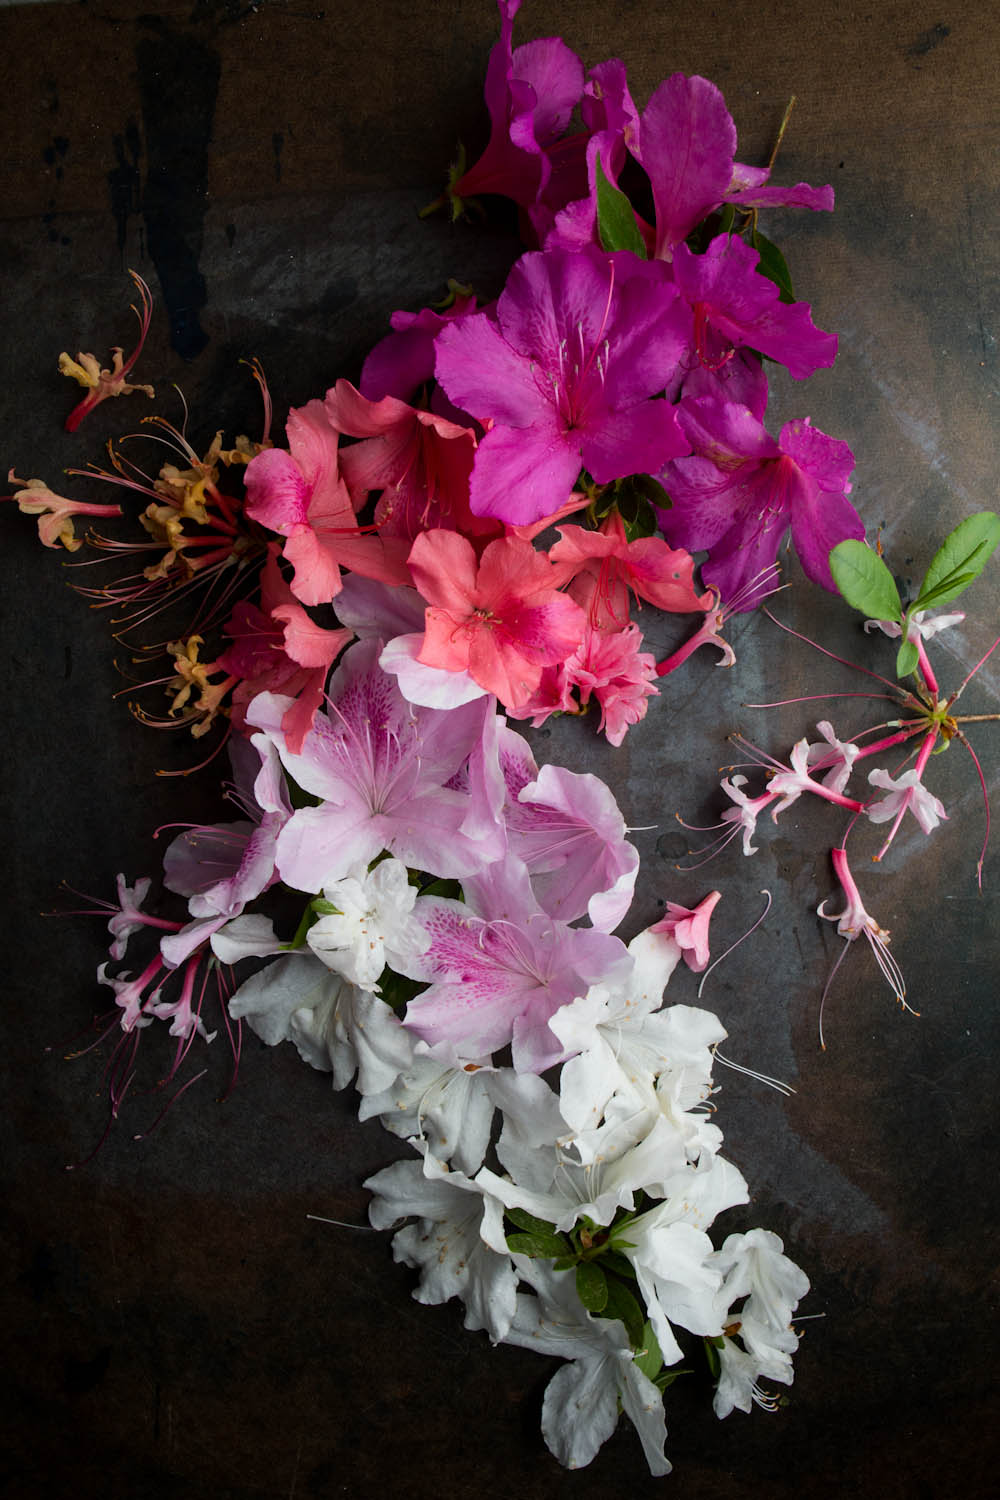
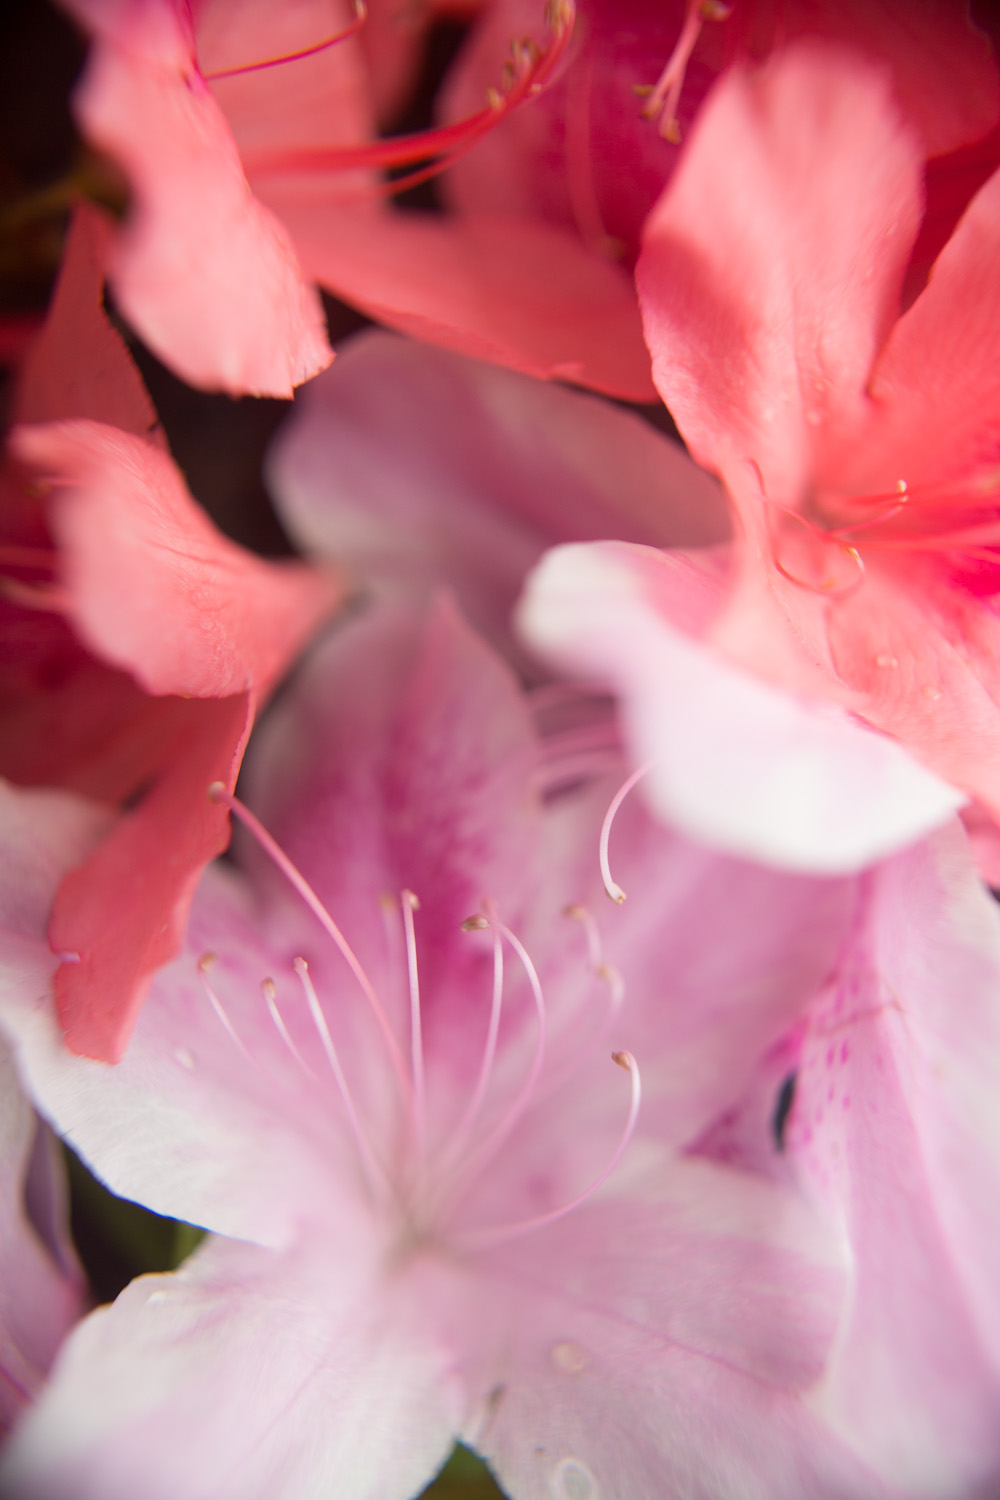
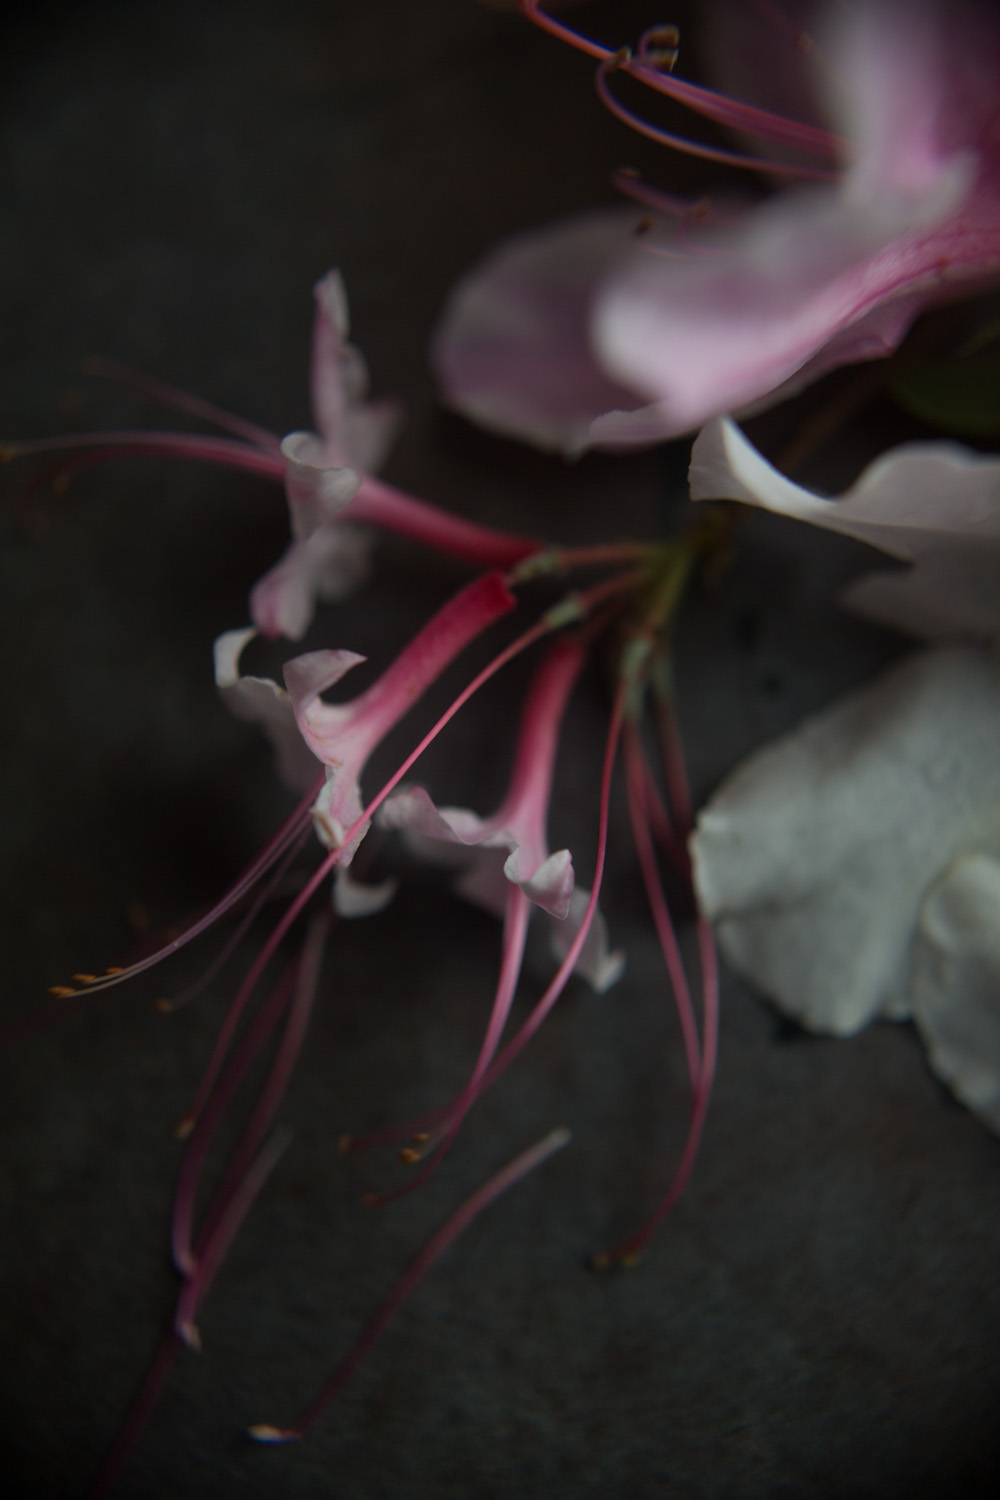
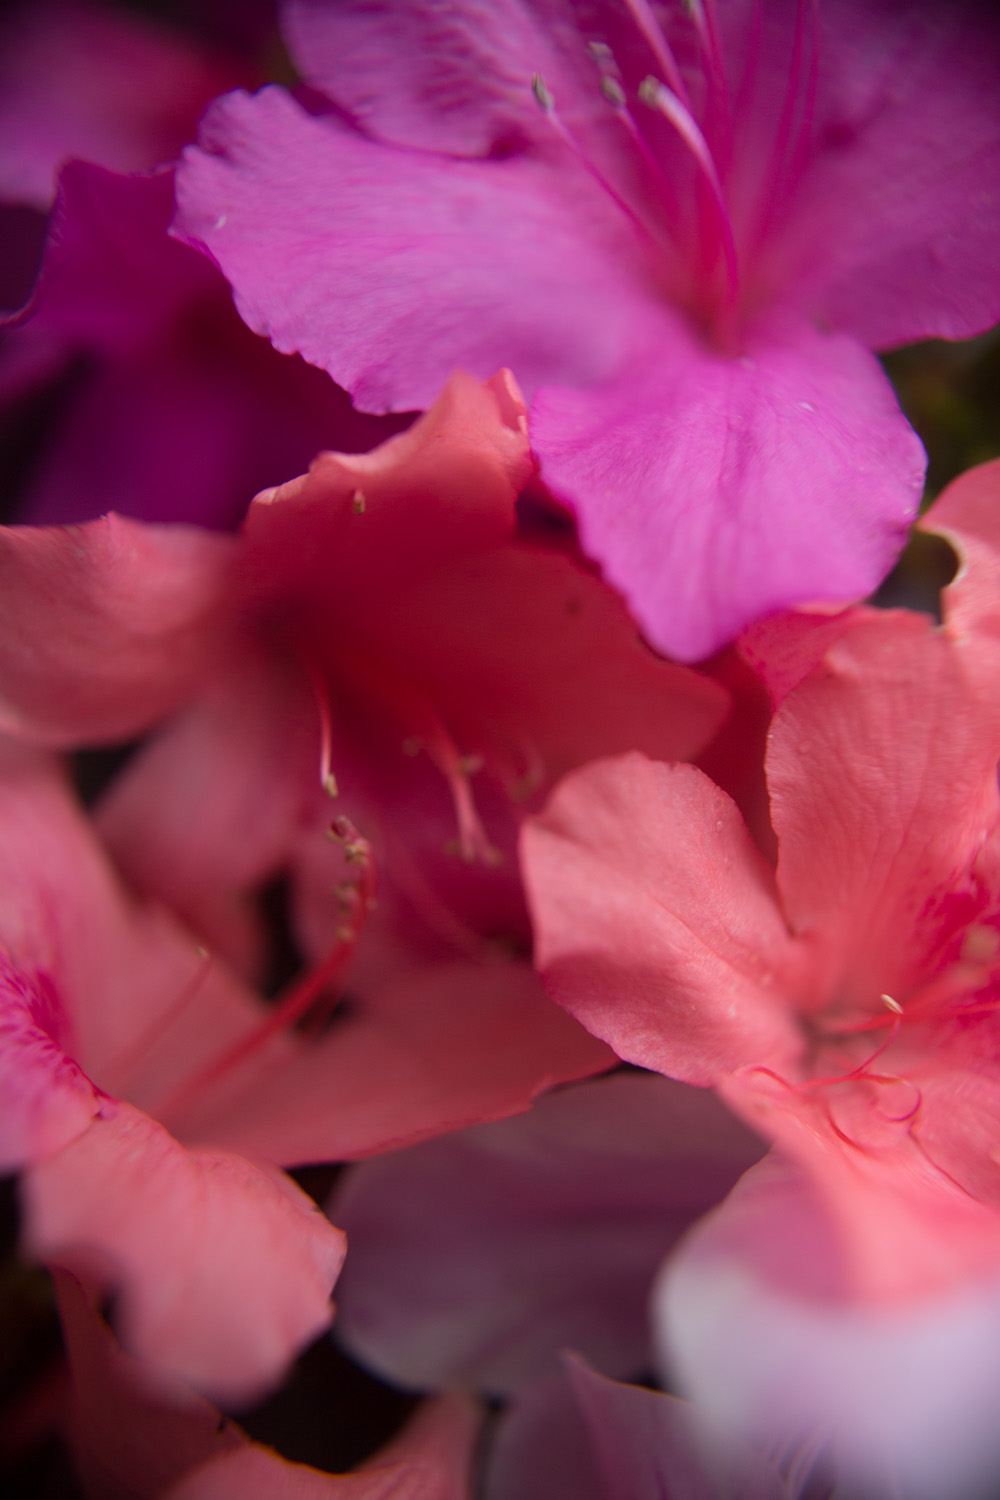
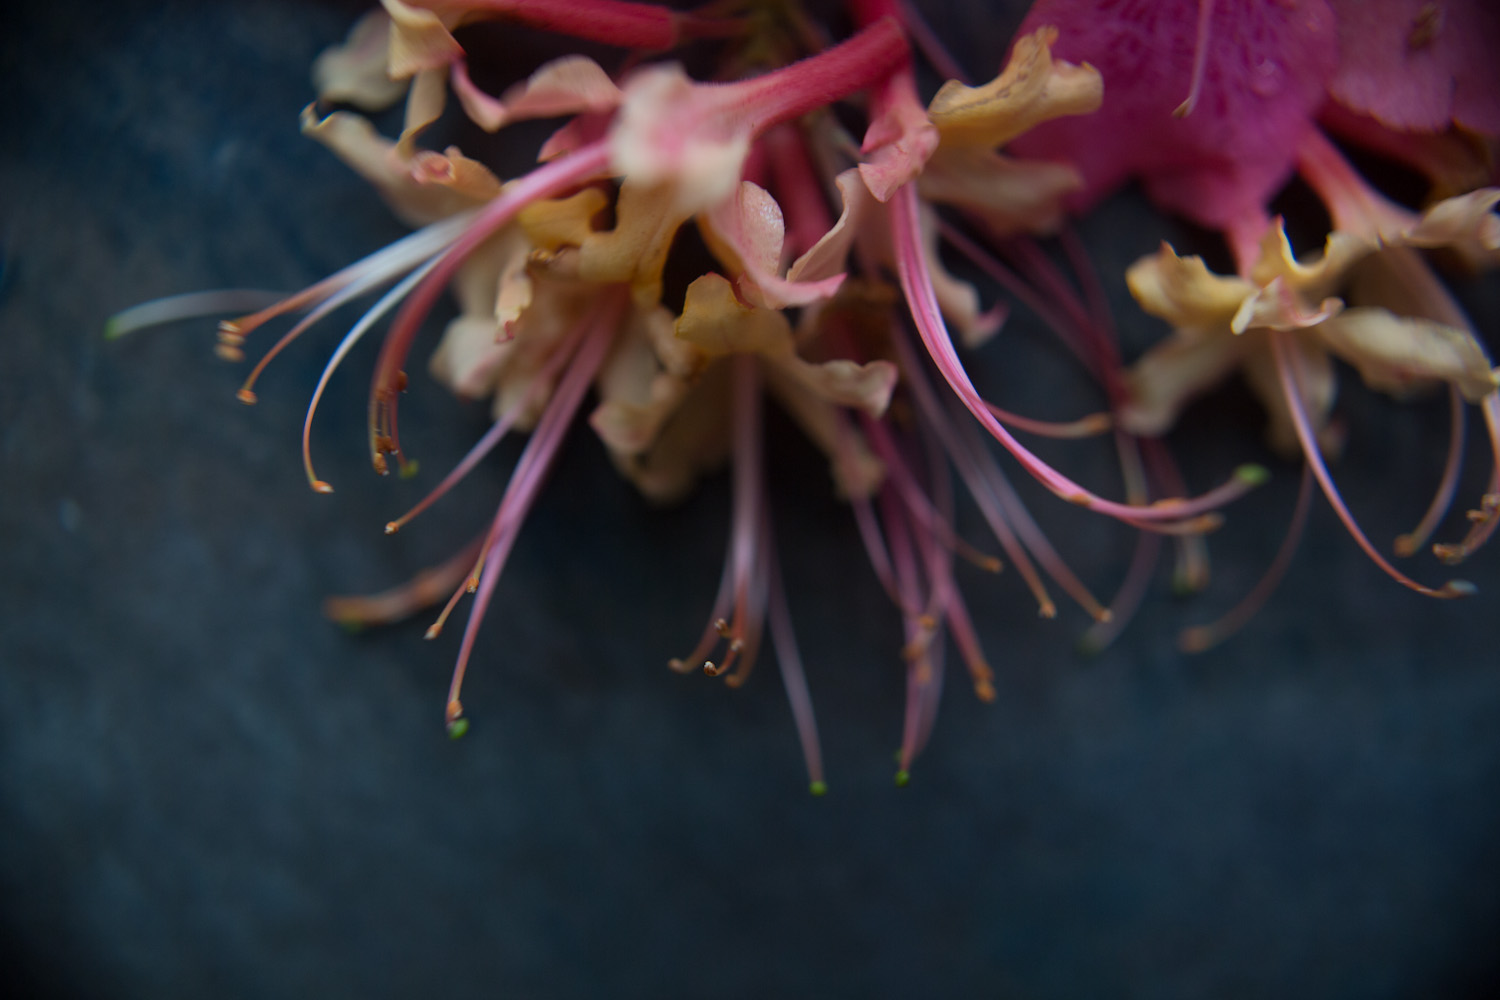
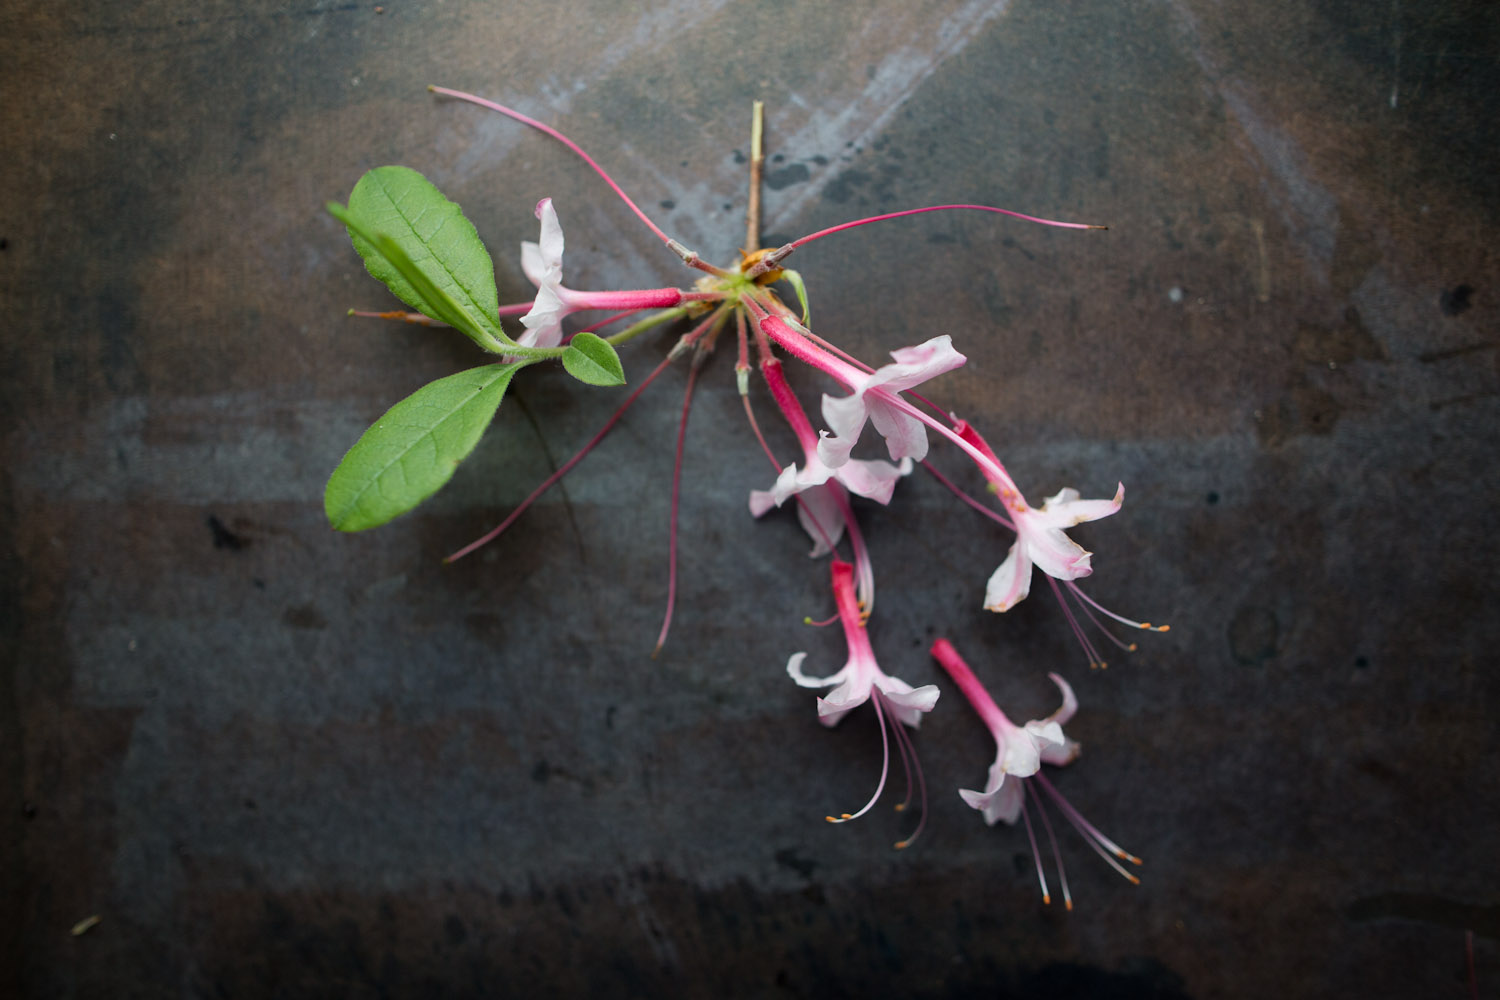
photographs by rinne allen
canopy
amanda's fermentation part 1: kombucha
our friend amanda kapousouz does many things well; one thing we really love is how she cooks for her family. her two young children drink this kombucha everyday and love it. i spent a day in her kitchen a few weeks back learning how to make it, and a few other things too (which we will share soon!).
amanda adds dried lavender and blueberries to this batch:
we ended the day with a drink of the kombucha with some grapefruit bitters...yum!
kombucha
makes 1 gallon
- 1 gallon filtered water
- 2 TBSP loose black tea (8 teabags) **do not use flavored teas-they contain oils which will affect fermentation
- 1 cup granulated cane sugar
- 1 SCOBY (this is the 'mother' ; SCOBY stands for 'symbiotic culture of bacteria & yeast')
- 1-2 cups plain kombucha 'starter' (can be store bought)
- bring water to a boil. then turn off heat and add sugar; stir to dissolve. add teabags / loose tea in bag and let steep until tea cools to room temp. discard tea bag, and pour sweet tea into a large glass brewing vessel. only when tea is at room temperature, add the SCOBY and 1-2 cups of kombucha starter. place a handkerchief or napkin over the opening and secure with a rubber band. be sure that the opening is wide enough to be able to remove the SCOBY after fermentation. (note, you can get a SCOBY from a friend, if you know someone who is making their own kombucha...).
-place in a warm-ish spot (on top of a refrigerator or in a pantry) and check back in a couple of weeks. a new SCOBY 'baby' should form on the surface of the tea. in the cooler seasons, it may take a little longer to ferment, and in the warmer seasons, fermentation will speed up, but 2 weeks is generally a good amount of time.
-when you are satisfied with the taste (it should be a little tangy and have a slight fizz), brew a new batch of tea to repeat the process, and now is when you can flavor your first batch in a 'second fermentation'! you may use the new 'baby' SCOBY in your new batch or the original mother. SCOBYs will last a long time; you may share your new SCOBY with a friend, compost it, or start a SCOBY 'hotel' --- look it up! SCOBYs should not be kept in a refrigerator.
-how to do a 2nd ferment: divide the kombucha into grolsch style bottles and add a few slivers of ginger, blueberries, or a splash of your favorite fruit juice. seal the bottles and let them sit an additional day or two. this will create a flavor and a stronger fizz, so be sure to be careful when opening bottles!!
* a tip from amanda: for ideas, how to videos, and other recommendations, i use http://www.culturesforhealth.com/kombucha#beginner
thank you, amanda!
recipe by amanda kapousouz, photographs by rinne allen
looking up
canola fields
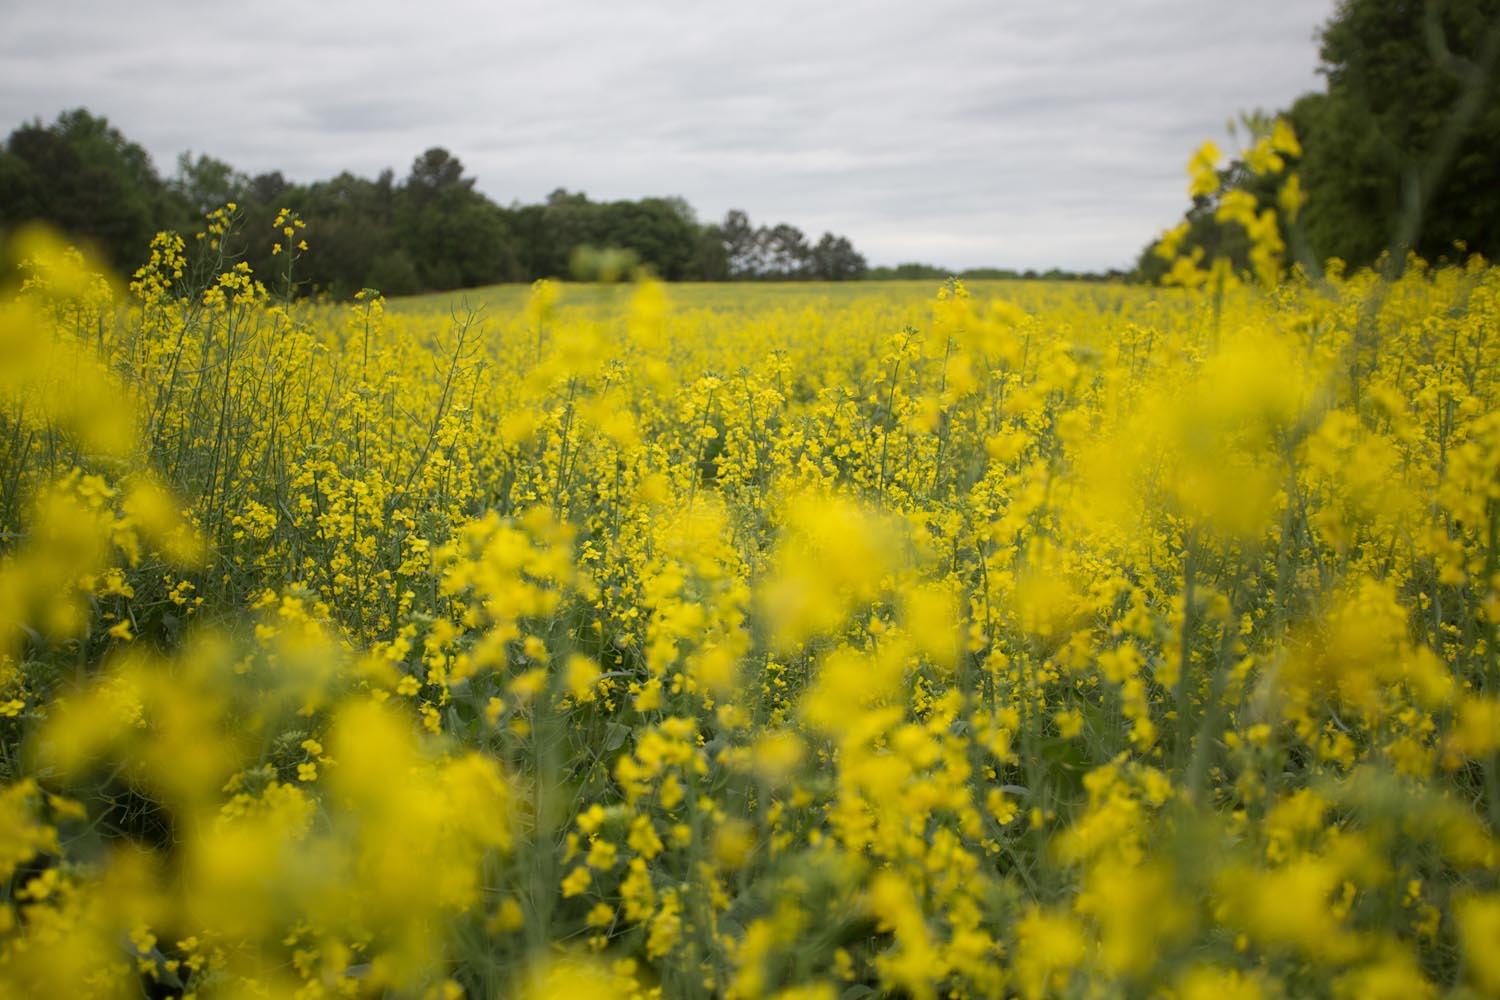
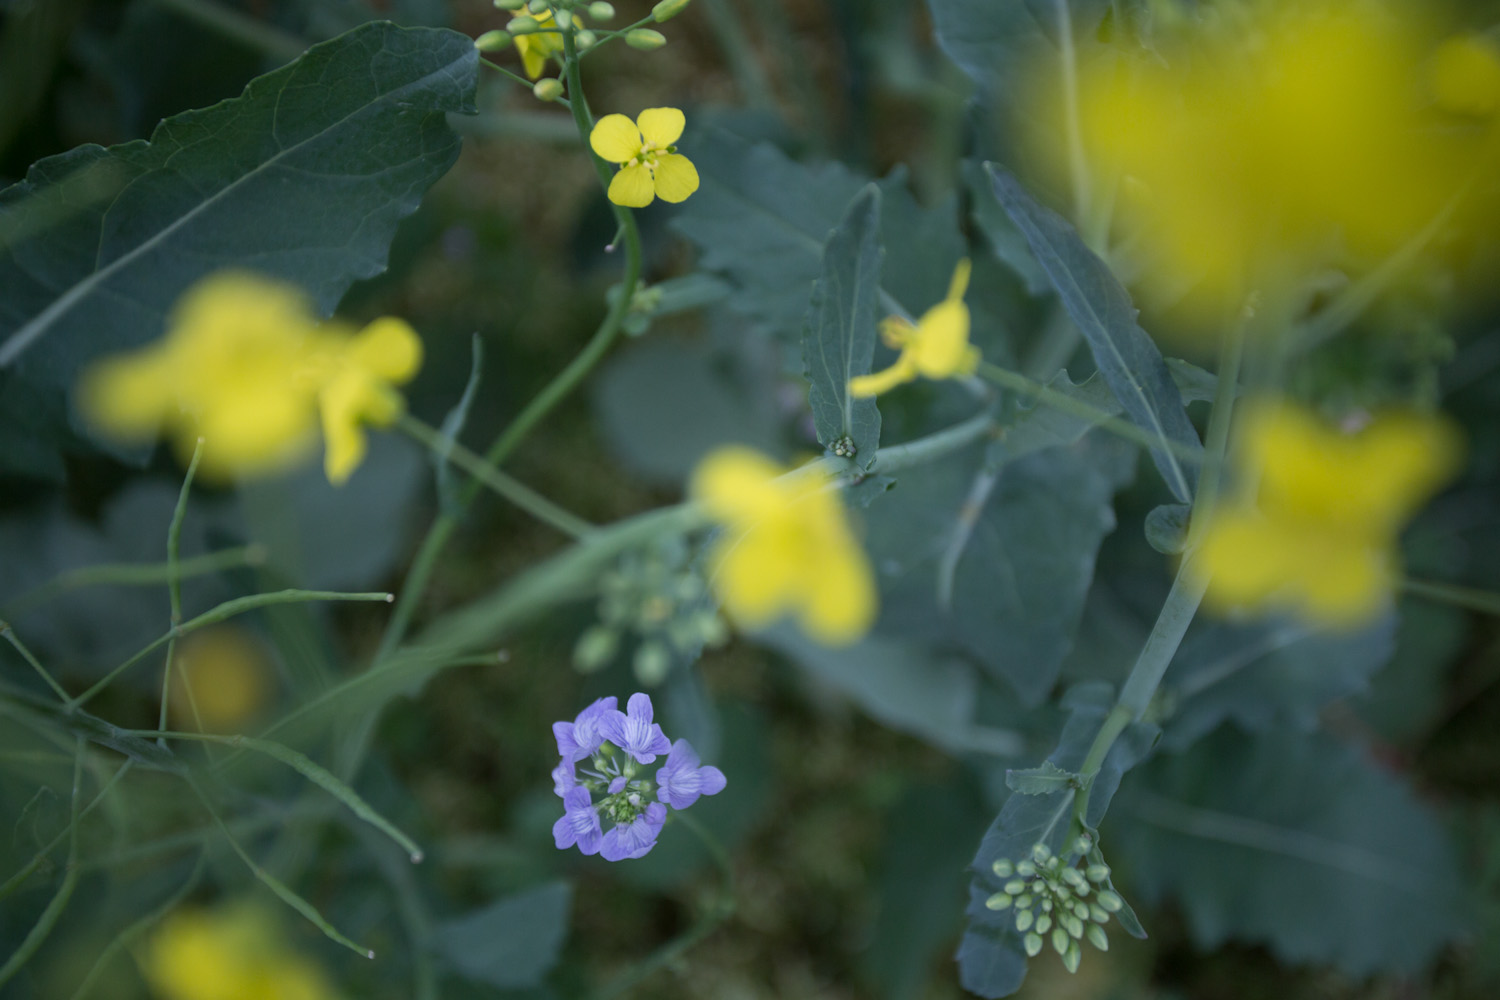
the canola fields are starting to flower around here...over the next few weeks they will be in bloom...go explore!
